Undoubtedly, one of the most expensive parts of an HD digital system is the FPV goggles, and here comes helping the Walksnail Avatar VRX. Thanks to its HDMI out can be used with your existing analog or digital FPV headset with HDMI in. If you like to fly on a big screen, you can use your 60″ LCD TV and invite your friends to join the fun and serve some popcorn.

VRX stands for Video Receiver or Video Receiver Module. In the context of FPV (First-Person View) systems, a VRX is a device that receives the video signal transmitted from an FPV camera through a VTX (video transmitter) and displays it on FPV goggles or monitor.
An external VRX module is commonly equipped with one or multiple antennas to capture the transmitted signal and a receiver module that processes and demodulates the signal. It then outputs the video signal, which can be connected to an FPV monitor or goggles for real-time viewing. Besides the legacy 5.8 GHz analog systems, currently, there are three digital FPV systems: DJI HD Digital, Walksnail Avatar, and HDzero.

The Avatar VRX is intended for those willing to step into Walksnail at a minimal cost. Whether you come from the 5.8G analog world or DJI HD digital ecosystem, using your existing FPV goggles with an HDMI input, you can fly an FPV drone equipped with any Walksnail AVATAR HD VTX system. Caddx understood that not everyone wants to spend $600 on a second pair of FPV goggles to test their technology. The Walksnail VRX module is also an excellent option for those who prefer to fly using big monitors instead of FPV headsets.
Walksnail Avatar HD VRX review
Disclosure: I received this Avatar VRX as part of a product review collaboration with CaddxFPV. Technical specs and quality may vary according to the manufacturer’s reliability, so I cannot guarantee that you will get an identical product, as seen in my article.
Last month, to be able to test and review the Avatar HD Pro kit, Caddx also sent me this VRX unit. In the box beside the Walksnail vRX module are a Y power splitter (DC5521), HDMI cable, and mounting accessories and tools.

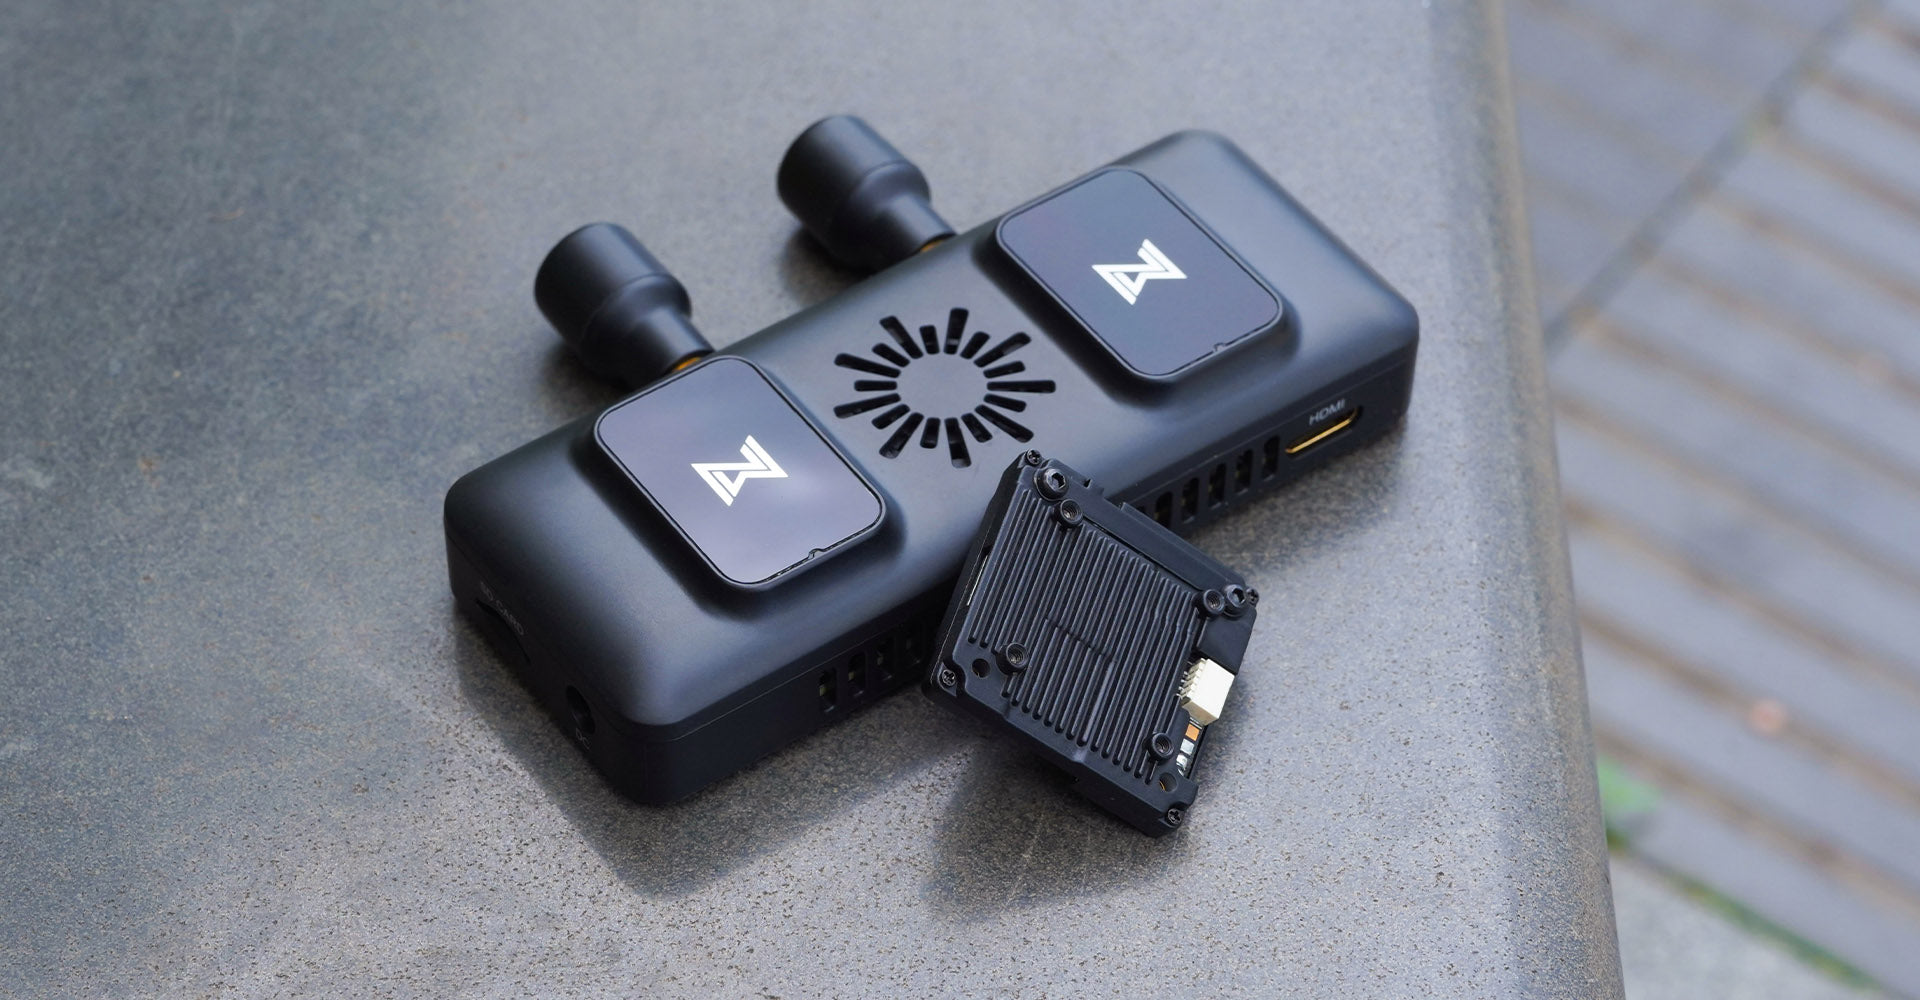
The module measures 114*55*22mm and weighs roughly 80 grams. It has two built-in antennas (7.6dBi) and two external ones (1.9dBi). It can be attached to your FPV monitor or FPV goggles using the integrated 3mm GoPro mounting bracket, or the included double-sided tape. A standard 5.1mm power connector and micro SD slot are on the right. On the top, near the tiny joystick, is the bind (pairing) button. The HDMI-out port is at the bottom of the unit.

Featuring a wide range of input voltage, you can power it from 7 to 25.2 volts (2S-6S). Using a CNHL 4s 3200 Li-ION pack gives me almost endless operation time. The VRX can intelligently identify the voltage of 2, 3, 4, and 6s LiPo batteries. A low battery alarm will be triggered when the cell voltage drops below 3.5 volts.

Walksnail VRX: Controls
The VRX module has only two buttons and a tiny joystick for easy operation and navigation between various menus. The “Play” button allows you to start/stop video recording, and the “Back” button to return to the previous menu or exit the current mode. 720p@60fps mode can be activated By long pressing (5 seconds) the Back-key.

OSD & Main interface
The Avatar VRX features a detailed OSD that includes VTX and RVX battery voltage, transmission video bitrate, latency, channel, and even an estimated flight distance. Recording status and remaining storage space (vTX and vRX) are displayed in the up-right corner.

The main interface has four tabs:
1. Channel – You can manually set the desired transmission channel or activate the “Auto” switch. Signal strength is displayed for each CH. While FCC mode has 8CH, CE/SRRC mode has only 4CH.
2. Share – This section is under developing
3. Settings
(1) Transmit Power – The default transmit power can be toggled between 25mW, 200mW, 500mW, and 700mW. In FCC mode, 1200mW can be set.
(2) Resolution – You can choose 720P and 1080P. When 1080P is selected, the high frame rate mode cannot be selected.
(3) Camera – You can adjust EV value, saturation, sharpness, white balance, rotation, and ratio settings.
(4) Display – You can customize zoom effect, brightness, focalization mode, custom OSD, OSD position, font upgrade, custom font, viewfinder, and viewfinder edit settings.
(5) Record – VTX record resolution, REC device, Take-off REC, REC loop, SD card, and VTX.
(6) Device – Buzzer volume, ranging mode, weak signal, reset all, device information, and instructions.
4. Playback – Allows you to review your videos.
Pricing, availability, and options
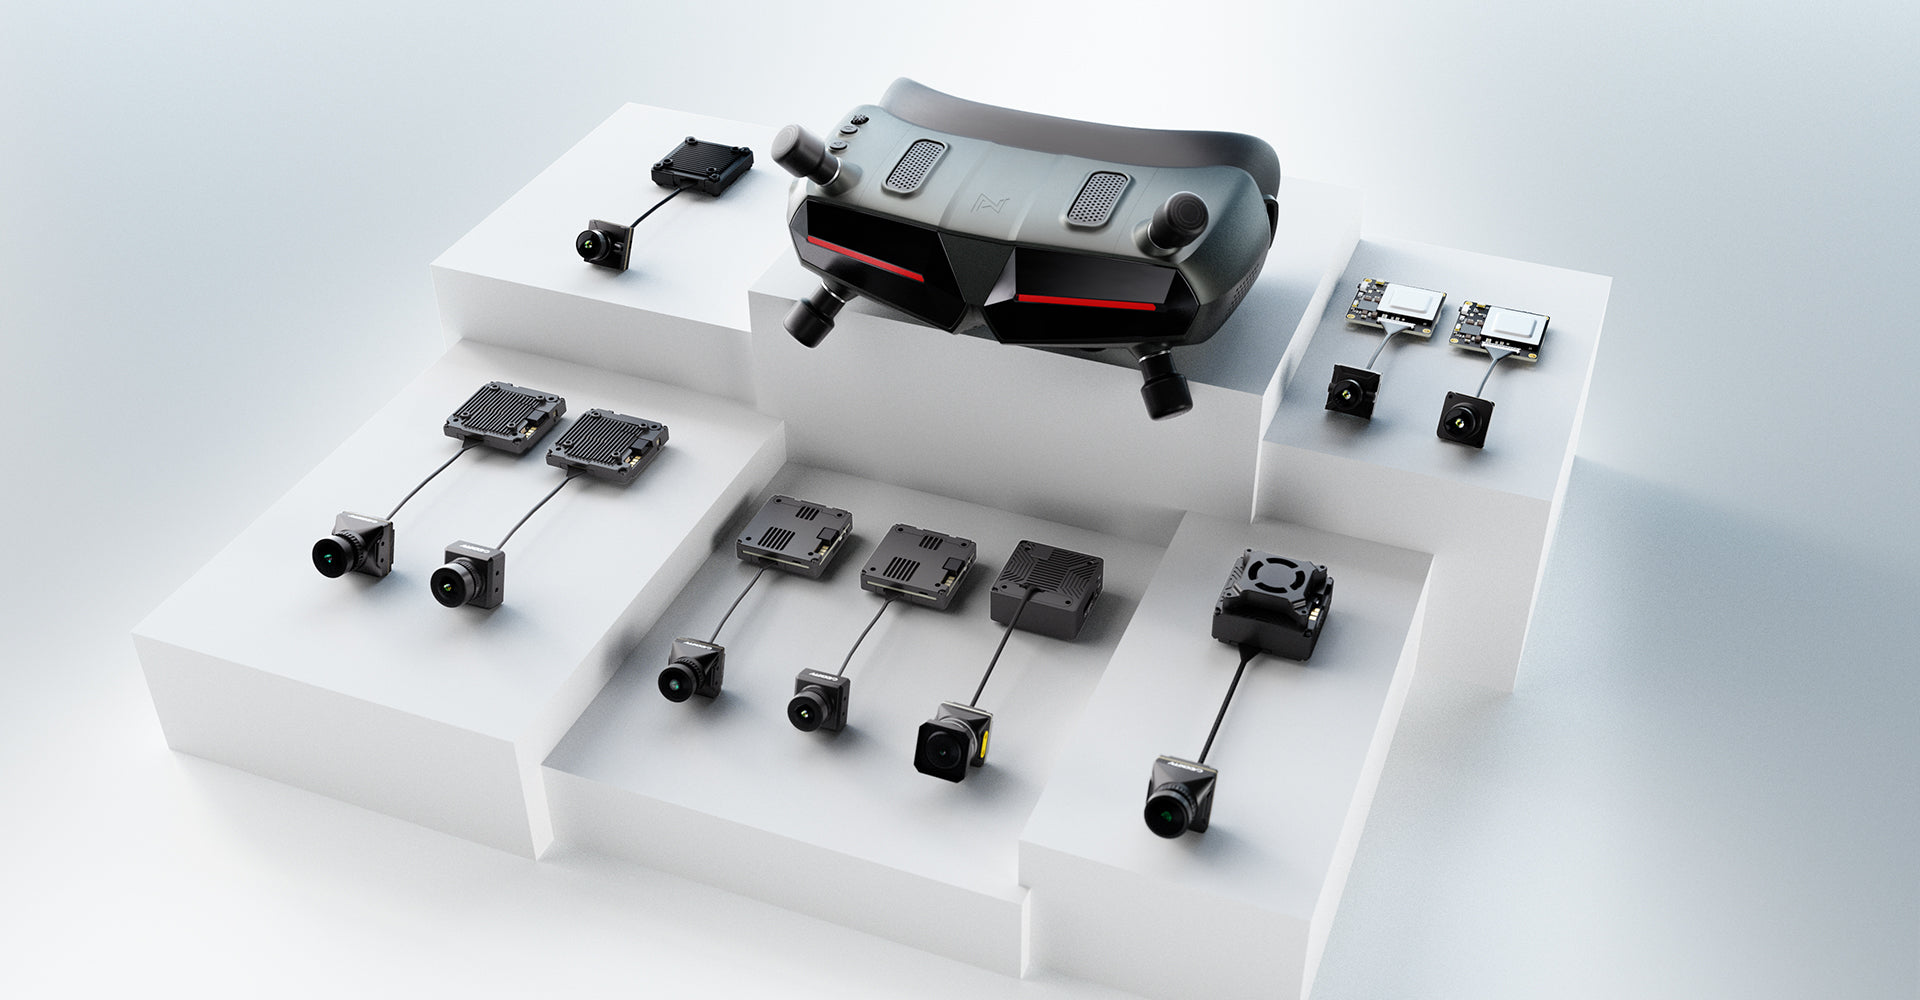
The Avatar VRX can be ordered from Caddx with a starting price of $209. Besides the basic kit, there are seven combo kits with various VTX options. The Walksnail VRX and Avatar HD Pro bundle is priced at $309. Only this month, you can get it with $50 off using this coupon code ‘VRXCOUPON‘!
Technical parameters
| Monitor compatibility | LCD screens and FPV goggles with HDMI in |
| HDMI Output | 1080p60fps, 720p100fps, or 720p60fps |
| Digital VTX compatibility | Avatar HD and Avatar HD V2 |
| Communication Frequency | 5.725-5.850GHz |
| Transmitter Power (EIRP) | FCC:<30dBm;CE:<14dBm;SRRC:<20dBm;MIC:<25dBm |
| Number of antennas | 2x built-in + 2x external |
| Micro SD card | up to 256GB |
| DC Power input | 7-25.2V (2S-6S) |
| Dimensions | 114x55x22mm |
| Weight | 83 grams |
Can I use it with DJI FPV Goggles V2, Goggles, or Integra?
As none of the DJI FPV goggles, including Goggles V2, have an HDMI input, they cannot be used directly with the Walksnail VRX module. You can use an external HDMI to AV converter, dramatically reducing the video quality and adding significant latency.
Walksnail AVATAR VRX FPV headset compatibility list:
(1) HDZero Goggles
(2) Headplay HD (1280×800) and SE (1024×600)
(3) Fat Shark HDO2, Attitude V6, and Recon HD Box
(4) SKYZONE SKY02O, Cobra, Sky04X, and Sky 04L v2
(5) Orqa FPV.ONE Pilot
Please let me know by commenting below if there are other FPV goggles I haven’t mentioned.

How to pair the Walksnail VRX with your drone?
The Walksnail VRX is compatible with all AVATAR VTXs and can be paired following the steps below:
(1) Power on the drone and the VRX.
(2) Press the link (bind) button of the drone’s VTX and RVX module. The indicator light turns red, and the VRX end is a DI… Dl… DI…
(3) After the link is successful, the indicator light on the VTX turns solid green,
the beeping sound on the VRX stops, and the screen is displayed.
Avatar HD VRX: Firmware upgrade procedure
The latest Walksnail VRX firmware can be downloaded from here. The zip file contains files for all AVATAR hardware -use “AvatarSE_Gnd_X.X.X.img” for the VRX module.
1. Copy the upgrade file to the root directory of the SD card, connect to the power supply, and wait for the device to initialize (delete the old firmware file first if there is one).
2. Press and hold the link button on the VRX for 8 seconds, and the goggles automatically restart and emit a beep…beep…beeper sound. (Do not power off during the upgrade process, the upgrade time on the goggle is about 6 minutes).
3. After the upgrade is successful, and the beeping sound stops after the VRX beeps for 5 seconds.
Article Source::www.firstquadcopter.com


Leave a comment
All comments are moderated before being published.
This site is protected by hCaptcha and the hCaptcha Privacy Policy and Terms of Service apply.