


Text version:
1. Welcome to the tutorial for using the 4K Moonlight Camera + Video Board.
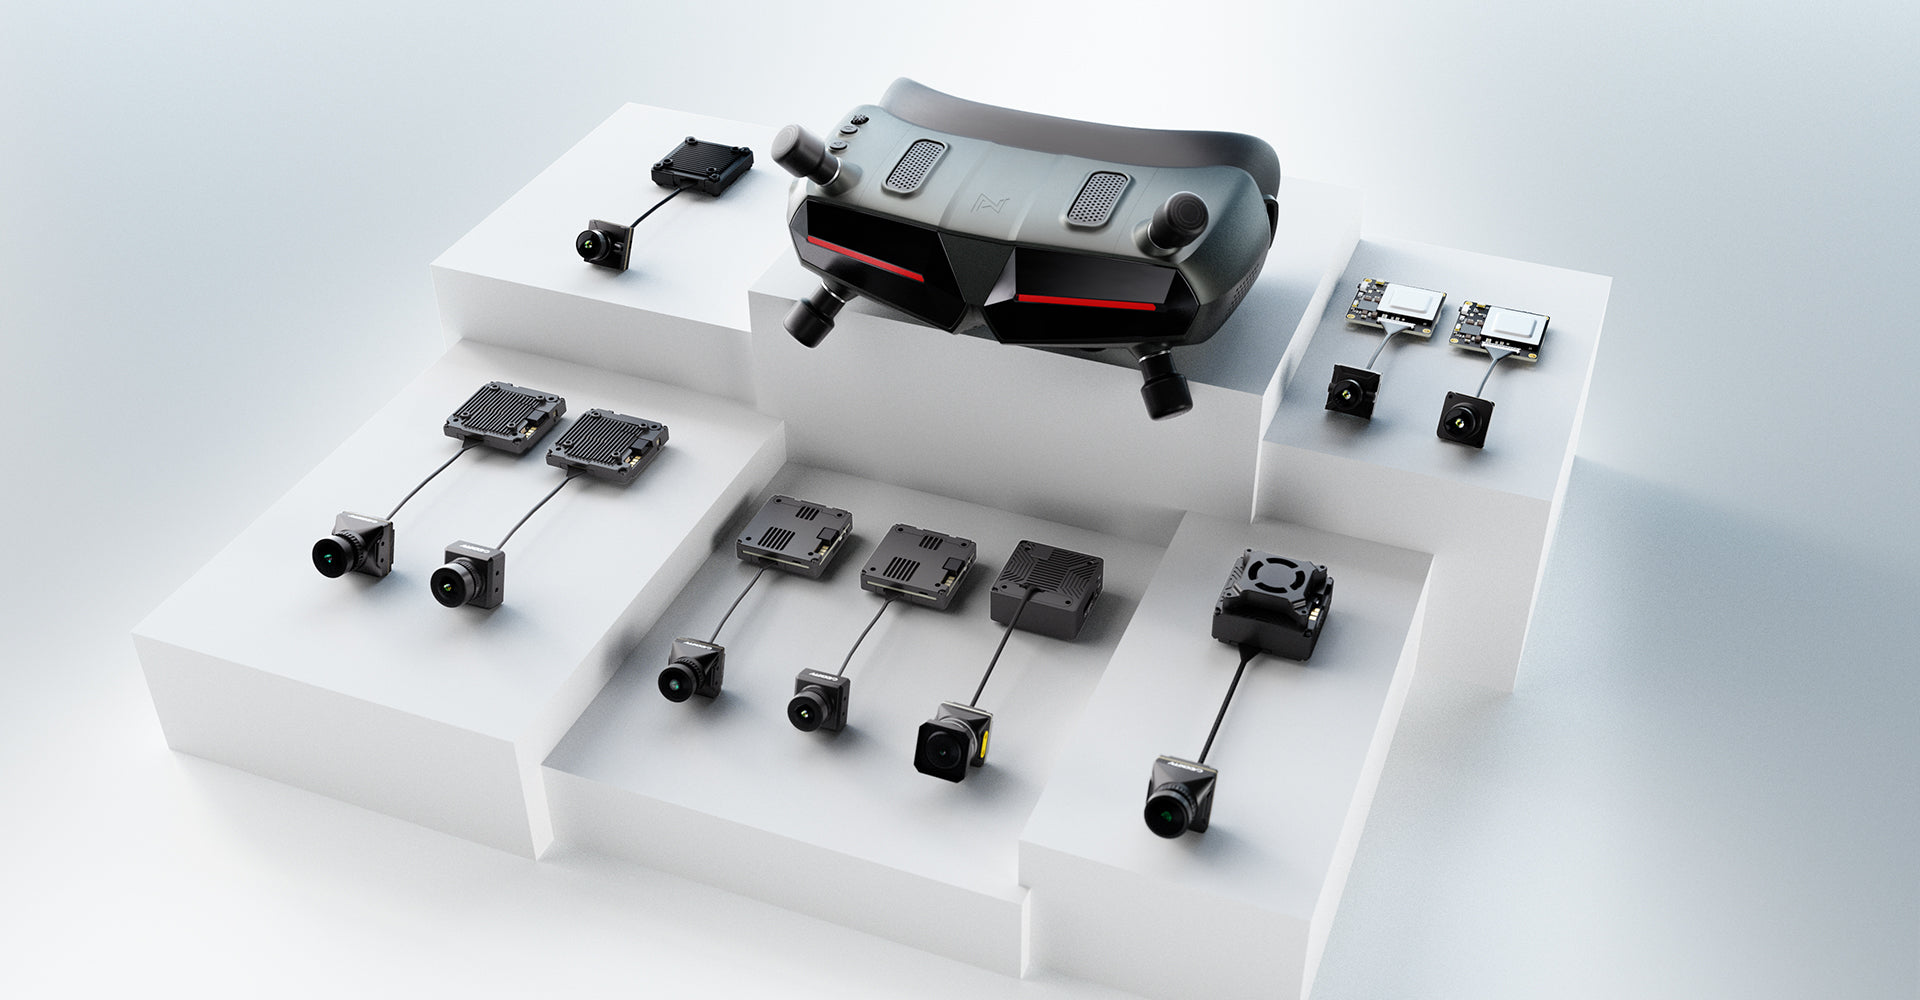
2. This product is compatible with all Walksnail Avatar series VTXs.
3. To connect the 4K recording board and the Avatar VTX, you will need a USB cable.
4. There are three types of USB cables included in the package.
5. Each corresponds to different VTX modules.
6. We will use the Avatar V2 VTX as an example here.
7. Insert the USB cable into the VTX, with the white-marked end near the VTX antenna.
8. Insert the other end into the 4K recording board.
9. Remove the VTX's camera.
10. Attach the 25mm coaxial cable from the 4K recording board to the Avatar V2 VTX.
11. Solder the power cable from the 4K recording board to the flight controller.
12. The input voltage should be between 7.4V and 25.2V. You can use a voltage-regulated BEC or BAT power soldering point.
13. Connect the power cable to the VTX.
14. Check for any wiring errors.
15. Ensure that the polarity is correct.
16. Firmware upgrade is required for first-time use.
17. Download the Avatar Moonlight firmware upgrade from the CaddxFPV official website.
18. Copy the firmware to the root directory of the SD card.
19. Insert the SD card into the Moonlight recording board slot.
20. Connect the power to the VTX and Moonlight camera.
21. Wait for the devices to power on.
22. The green light on the Moonlight Recording Board is always on, and the green light on the VTX is flashing.
23. Press and hold the bind button on the VTX for 8 seconds.
24. Release the button when the indicator light starts flashing red.
25. The upgrade process takes about 40 seconds.
26. It is normal for the indicator lights to turn off during the upgrade.
27. Do not power off during the upgrade process.
28. The Moonlight camera indicator light will turn green and steady.
29. The VTX's indicator light will turn green, flashing or steady.
30. This indicates a successful upgrade.
31. After the upgrade is complete,
32. test the VTX to ensure it is working correctly.
33. Power on the Avatar goggles.
34. Use a tweezer to click the bind button on the goggles.
35. You will hear a prompt sound.
36. Single-click the button on the VTX, and the red light will stay on.
37. Check the video transmission through the goggles.
38. Ensure the video feed is working correctly.
39. Once the video transmission is confirmed,
40. Assemble the Moonlight Recording Board and the VTX.
41. First, remove the screws from the Moonlight recording board.
42. Take out the four long screws included in the package.
43. Install them on the VTX and secure them with nuts.
44. After securing the Moonlight recording board onto the VTX, Fix it with the nuts.
45. Stack the Moonlight module and the VTX according to the frame layout,
46. Finally, use 4mm screws to secure the VTX to the frame.
47. Ensure the installation is secure.
48. The installation of the 4K Moonlight camera and Video Board is now complete.
49. Thank you for watching.
Leave a comment
All comments are moderated before being published.
This site is protected by hCaptcha and the hCaptcha Privacy Policy and Terms of Service apply.