Beginner’s Guide: How to Build Your First FPV Drone
FPV drones might look complicated at first, but with the right approach, you’ll find they’re easier to assemble than you think. Building your own FPV drone not only enhances your flying experience but also helps you understand how each component works. Here’s a quick and simple guide to help you assemble your first beginner-friendly FPV drone.

Essential Components You’ll Need:
1. Frame: Start by choosing a suitable frame. For beginners, we recommend a durable and easy-to-assemble quadcopter frame.
2. Motors: Motors provide thrust and determine the drone’s speed and efficiency. Choosing the right motors will give you smoother flight performance.
3. Flight Controller: The flight controller is the brain of the drone — it handles stability, flight response, and controls.
4. ESC: ESCs regulate motor speeds. Make sure the ESCs are compatible with your flight controller. Some combos, like the GoFilm20, come with the FC and ESC integrated for easier setup.
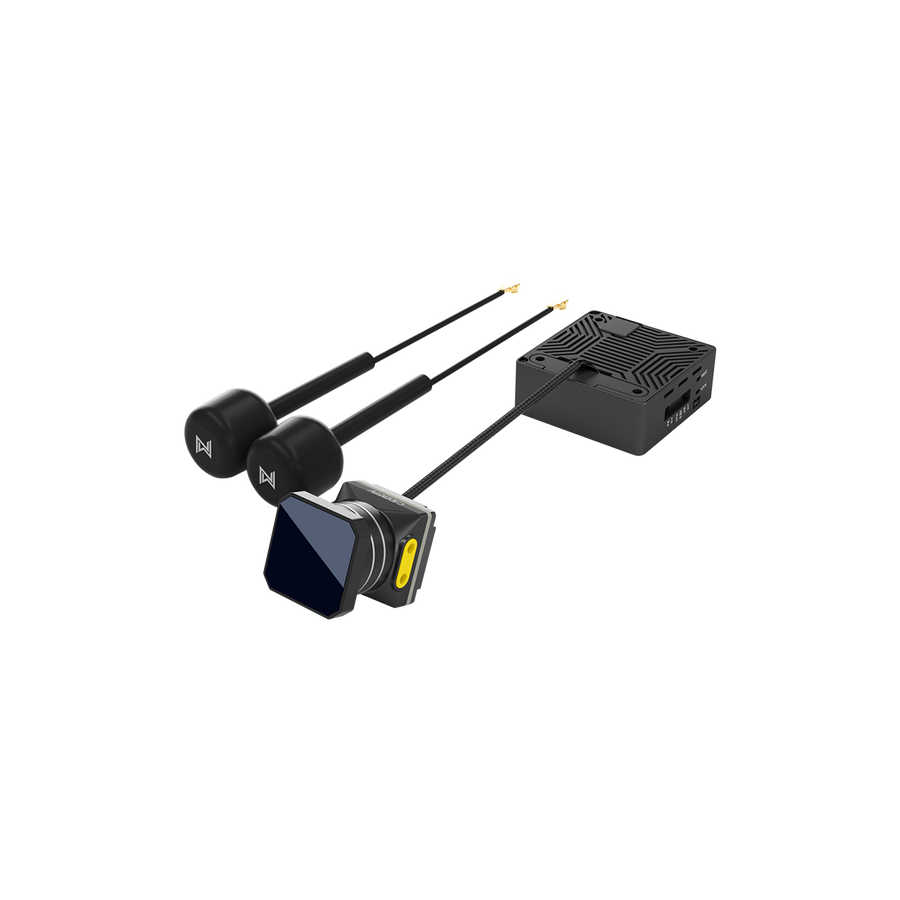
5. VTX and Camera: For a clear FPV feed, use a high-quality VTX and camera. Reliable video is crucial for confident flying.
6. Battery: The battery impacts your flight time and stability. Choose a battery with the right capacity and voltage that matches your frame and ESC setup.
7. Basic Tools: You’ll need tools like a soldering iron, solder wire, hex screwdrivers, scissors, and zip ties. Even if you're not a hands-on expert, following the steps carefully will help you succeed.
Tinywhoops Assembly Steps:
•Assemble the Frame (Bottom Section)
Start with the bottom part of the frame. Install the motor arms and fix them securely.
•Install ESC, Power Wires, and Motors
Mount the ESC on the frame and connect the power wires. Secure the motors onto the arms and connect each motor wire to its matching ESC. (In GoFilm20, the ESC is already integrated with the FC.)
•Mount the Flight Controller and Receiver
Place the FC on the vibration-isolated stack in the center of the frame. Connect the ESC signal wires. Then connect the receiver (e.g., ELRS-compatible module) and ensure it communicates with your transmitter. (Note: GoFilm20 has a built-in receiver.)

•Connect the VTX and Camera
Wire the VTX to the FC, ensuring stable video transmission. If you use the Walksnail HD system, the camera is pre-installed on the VTX — offering low latency and high-quality visuals, ideal for beginners who want a clear flight view.
•Assemble the Frame (Top Section)
Install the top plate of the frame, leaving enough space for the camera angle and airflow. Ensure the structure is compact and stable.
•Install the Battery
Mount the battery on top of the frame and connect it to the power leads. Use a battery strap to hold it securely.
•Tuning and Testing
Bind your transmitter, check battery level and signal strength, and test all functions. Do a flight test to fine-tune parameters and ensure smooth performance.

Building an FPV drone is a rewarding and fun process. If you’re just getting started or not confident in your building skills, the Gofilm20 paired with the Walksnail VTX system is a beginner-friendly combo that offers ease of use and excellent performance — the perfect flying companion for new pilots.


Leave a comment