


Table of Contents:
1. GM3 Gimbal + Moonlight Kit Installation Guide
1.1 Required Components
1.2 Installation Steps
2. GM3 Gimbal + GT Kit Installation Guide
2.1 Required Components
2.2 Installation Steps
3. Conclusion & Additional Resources
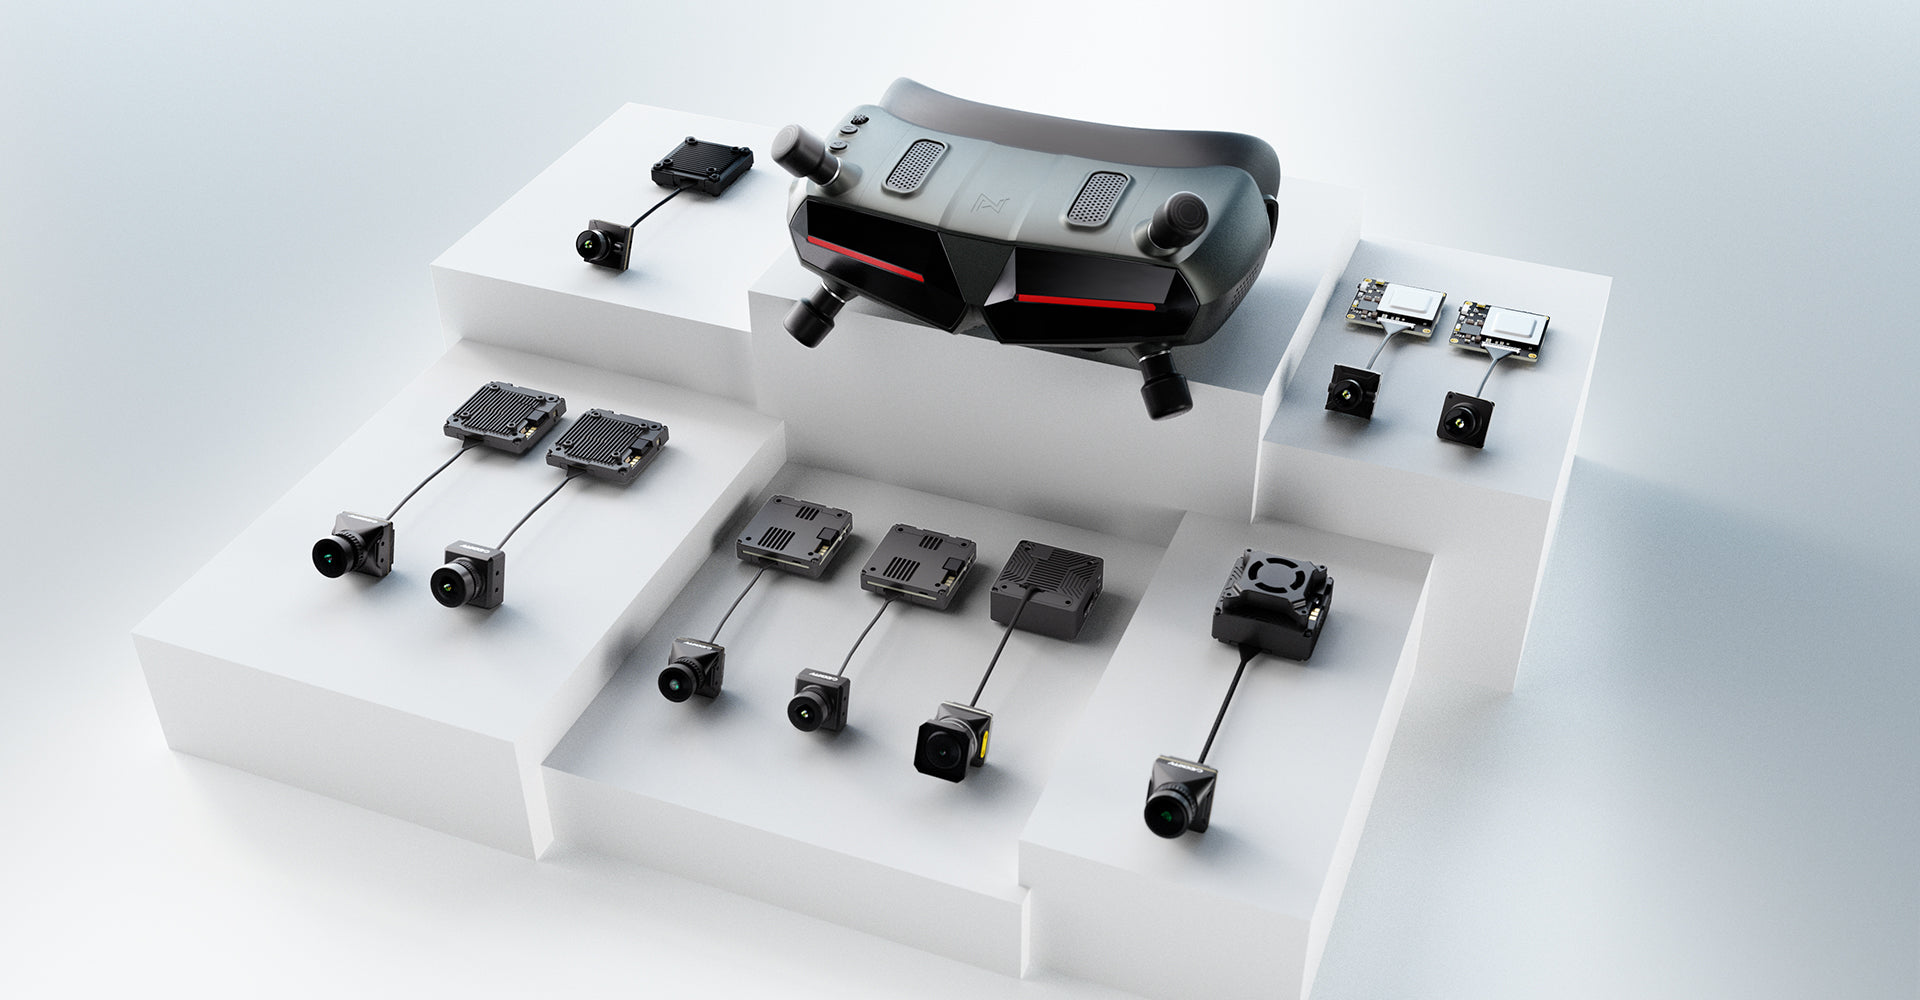
In the world of FPV RC cars, integrating an HD transmission system brings an entirely new immersive driving experience. By installing the GM3 gimbal, GT Kit, Moonlight Kit, Pro Kit, or Kit V2, you can achieve smooth video transmission, head tracking control, and even night vision capabilities.
This tutorial provides a step-by-step guide to installing these components, allowing you to experience real-time FPV driving with an ultra-stable camera system.
1. GM3 Gimbal + Moonlight Kit Installation Guide

1.1 Required Components
(1) GM3 Gimbal
(2) Moonlight Kit (VTX + Camera)
(3) 3D-Printed Baseplate (PLA or ABS recommended)
(4) 3D-Printed Antenna Mount (TPU recommended)
(5) 6 × M2*6 Screws + 4 × M2*18 Screws
(6) XT60 Male Connectoror XT30 ( based on your battery interface)
(7) Power Cables (Included in the product packaging)

1.2 Installation Steps
Step 1: Preparing Components
(1) Download the gimbal baseplate & antenna mount 3D files from the CADDXFPV website.
(2) 3D print the baseplate (PLA/ABS) and the antenna mount (TPU).
Step 2: Disassembling & Mounting
(3) Remove the Moonlight Kit camera & coaxial cable.
(4) Mount the Moonlight camera onto the GM3 gimbal and connect the gimbal’s coaxial cable to the Moonlight VTX.

Step 3: Securing the Gimbal & VTX
(5) Secure the GM3 gimbal to the baseplate using 4 × M2*6 screws.
(6) Secure the Moonlight VTX to the baseplate using 4 × M2*18 screws.
Step 4: Installing the Antenna
(7) Attach the antenna to the antenna mount, then use 2 × M2*6 screws to secure it to the baseplate.
Step 5: Power Wiring
(8) Solder the GM3 gimbal & Moonlight VTX power cables (positive terminals together) to the XT60 positive pad.
(9) Solder the negative terminals together and connect them to the XT60 negative pad.
(10) If you are not using a flight controller, isolate the RX & TX wires.

Step 6: Powering On & Testing
(11) Connect the power cables and turn on the system.
(12) Enable head tracking mode on your FPV goggles (Goggles X or Goggles L). The gimbal will synchronize with your head movements.
(13) Secure the baseplate & battery using 3M adhesive.
(14) Start your FPV experience!

2. GM3 Gimbal + GT Kit Installation Guide

2.1 Required Components
(1) GM3 Three-Axis Gimbal
(2) GT Kit (VTX + Camera)
(3) 3D-Printed Baseplate (PLA/ABS Recommended)
(4) 3D-Printed Antenna Mount (TPU Recommended)
(5) 6 × M2*6 Screws + 4 × M2*20 Screws
(6) XT60 Male Connector or XT30 (based on your battery interface)
(7) Power Cables (Included in the product packaging)

2.2 Installation Steps
Step 1: Preparing Components
(1) Download the gimbal baseplate & antenna mount 3D files from the CADDXFPV website.
(2) 3D print the baseplate (PLA/ABS) and the antenna mount (TPU).
Step 2: Disassembling & Mounting
(3) Remove the GT Kit camera & coaxial cable.
(4) Mount the GT camera onto the GM3 gimbal and connect the gimbal’s coaxial cable to the VTX.

Step 3: Securing the Gimbal
(5) Secure the GM3 gimbal to the baseplate using 4 × M2*6 screws.
Step 4: Power Wiring
(6) Solder the GM3 gimbal & GT VTX power cables (positive terminals together) to the XT60 positive pad.
(7) Solder the negative terminals together and connect them to the XT60 negative pad.
(8) If you are not using a flight controller, isolate the RX & TX wires.
Step 5: GT Kit Wiring & Installation
(9) Cut the GM3 gimbal power cable and remove the four external screws from the GT VTX cooling fan.
(10) Open the VTX cover, solder the white wire to TX3 & the gray wire to RX3, then route the cables through the antenna mount hole.
(11) Reassemble the VTX cover and secure it with screws.
(12) Connect the GM3 gimbal coaxial cable to the GT VTX.

Step 6: Mounting the VTX
(13) Secure the GT VTX to the baseplate using 4 × M2*20 screws.
(14) Initially, tighten the screws halfway, then mount the GT Kit cover, install the antenna, attach the second cover, and reassemble the cooling fan.
(15) Finally, tighten all screws to secure the GT VTX & fan.
Step 7: Final Connections & Testing
(16) Plug in the GT Kit & GM3 gimbal power cables.
(17) Attach the antenna to the antenna mount and secure it using 2 × M2*6 screws.
(18) Enable head tracking mode on your FPV goggles (Goggles X or Goggles L) for immersive control.

(19) Secure the baseplate & battery using 3M adhesive.
(20) Experience real FPV driving like never before!

3.Conclusion & Additional Resources
By installing the Walksnail Avatar HD System, you can transform your RC car into an FPV head tracking kit, perfect for real-time FPV driving, freestyle practice, and immersive exploration. Whether you're using the Moonlight Kit for night vision or the GT Kit for high-definition video transmission, this setup enhances your FPV experience with smooth and stable footage.
Have questions about the installation? Drop a comment below or contact: support@caddxfpv.com, for tutorial requests, reach out to: marketing@caddxfpv.com

Leave a comment
All comments are moderated before being published.
This site is protected by hCaptcha and the hCaptcha Privacy Policy and Terms of Service apply.