


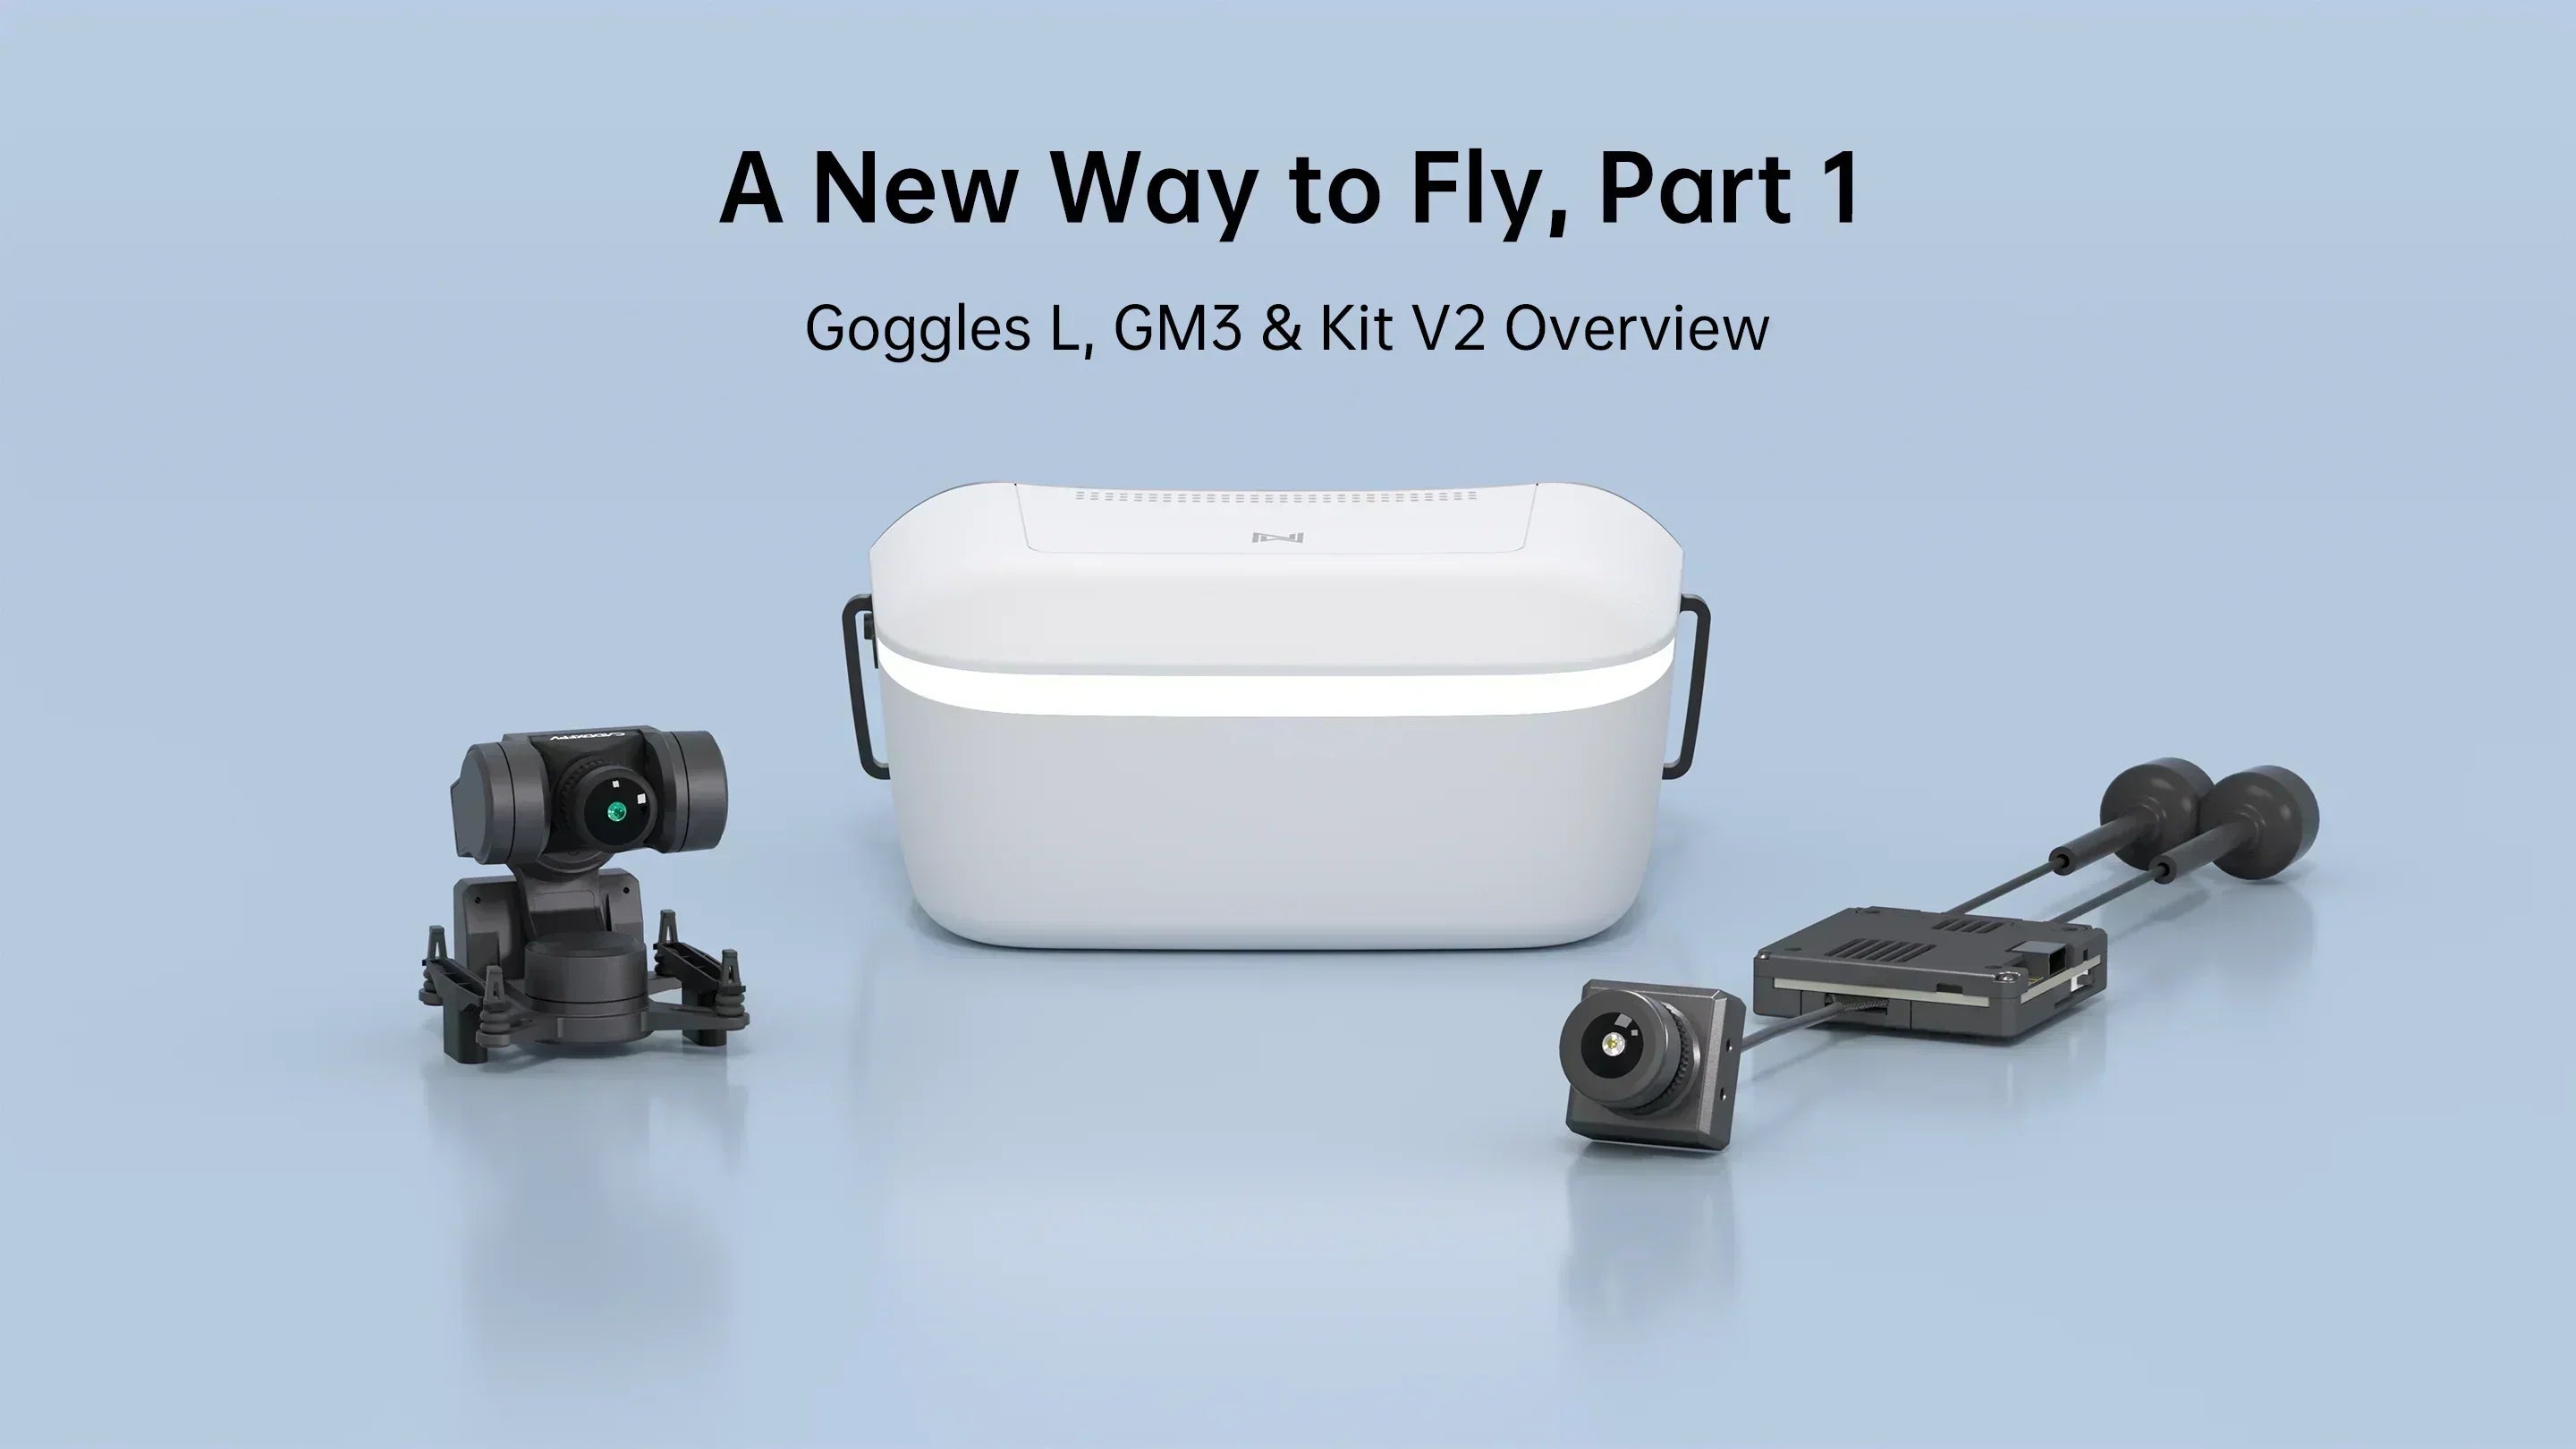
CaddxFPV Gimbal 3, when paired with the Walksnail Avatar Goggles L and the Avatar HD Kit V2, was tested on various aircraft with head tracking and OSD overlays in the goggles view. The combo offers pro-level FPV with crystal-clear 1080p visuals, native 4:3 detail, and stable long-range transmission. With advanced stabilization and immersive head tracking, it delivers cinematic clarity, precise control, and a true cockpit-like flight experience.

The new combo arrived well-packaged.
The digital FPV world is developing rapidly, and Walksnail has quickly established itself as a serious player alongside traditional systems. With crystal-clear images and low latency, the Avatar system has won over many pilots.
Now, Walksnail is following up and expanding its portfolio with a long-awaited component, the stabilized camera head – the Gimbal. It is available in three versions, from 1-axis to 3-axis. While the small version only controls pitch, the 3-axis version stabilizes on all axes.
At the same time, Walksnail presents a new pair of video goggles, the Goggles L. I have put the brand-new combo through its paces, deliberately mounting it on a wide variety of flight platforms: from a leisurely trainer and a vibrating large-scale model with a combustion engine to a VTOL with its special requirements. With head tracking and superimposed flight data, I dive deep into the question: How does this technology revolutionize FPV flying with fixed-wing models?
The Walksnail Avatar ecosystem – more than just Goggles and camera
Before I turn to the new components, a brief look back at the Walksnail Avatar system. The core of the system is the digital image transmission, which offers a significantly higher resolution and level of detail compared to analog FPV. This results in a true "in the model" feeling and a less fatiguing flight experience, especially on longer flights or when exploring vast areas. The system typically consists of a camera, an Air Unit (transmitter/VTX), and the video goggles. The Air Unit is the centerpiece; it compresses the camera data and sends it to the goggles. At the same time, data from a possibly installed flight controller (FC) is also transmitted and displayed as an On-Screen Display (OSD) in the goggles.
The previous cameras were rigidly mounted – a limitation that FPV pilots of fixed-wing models often lamented. A fixed forward view, dependent on the flight attitude, can make control difficult during turns or for orientation in the air. A fixed-wing model does not have the agility of a quadcopter, which can simply fly sideways for a moment to look to the side.
This is where the new gimbal comes in, the eye that moves.
The gimbal is a compact, lightweight 3-axis stabilization platform for the Walksnail cameras. The technical implementation of the stabilization is based on high-precision gyroscopes and acceleration sensors within the gimbal itself, which detect the model's flight movements and have the gimbal's motors counteract them. For this, multi-pole direct-drive BL motors are used. The goal is a buttery smooth, steady image, even when the aircraft is shaken by turbulence or the engine.
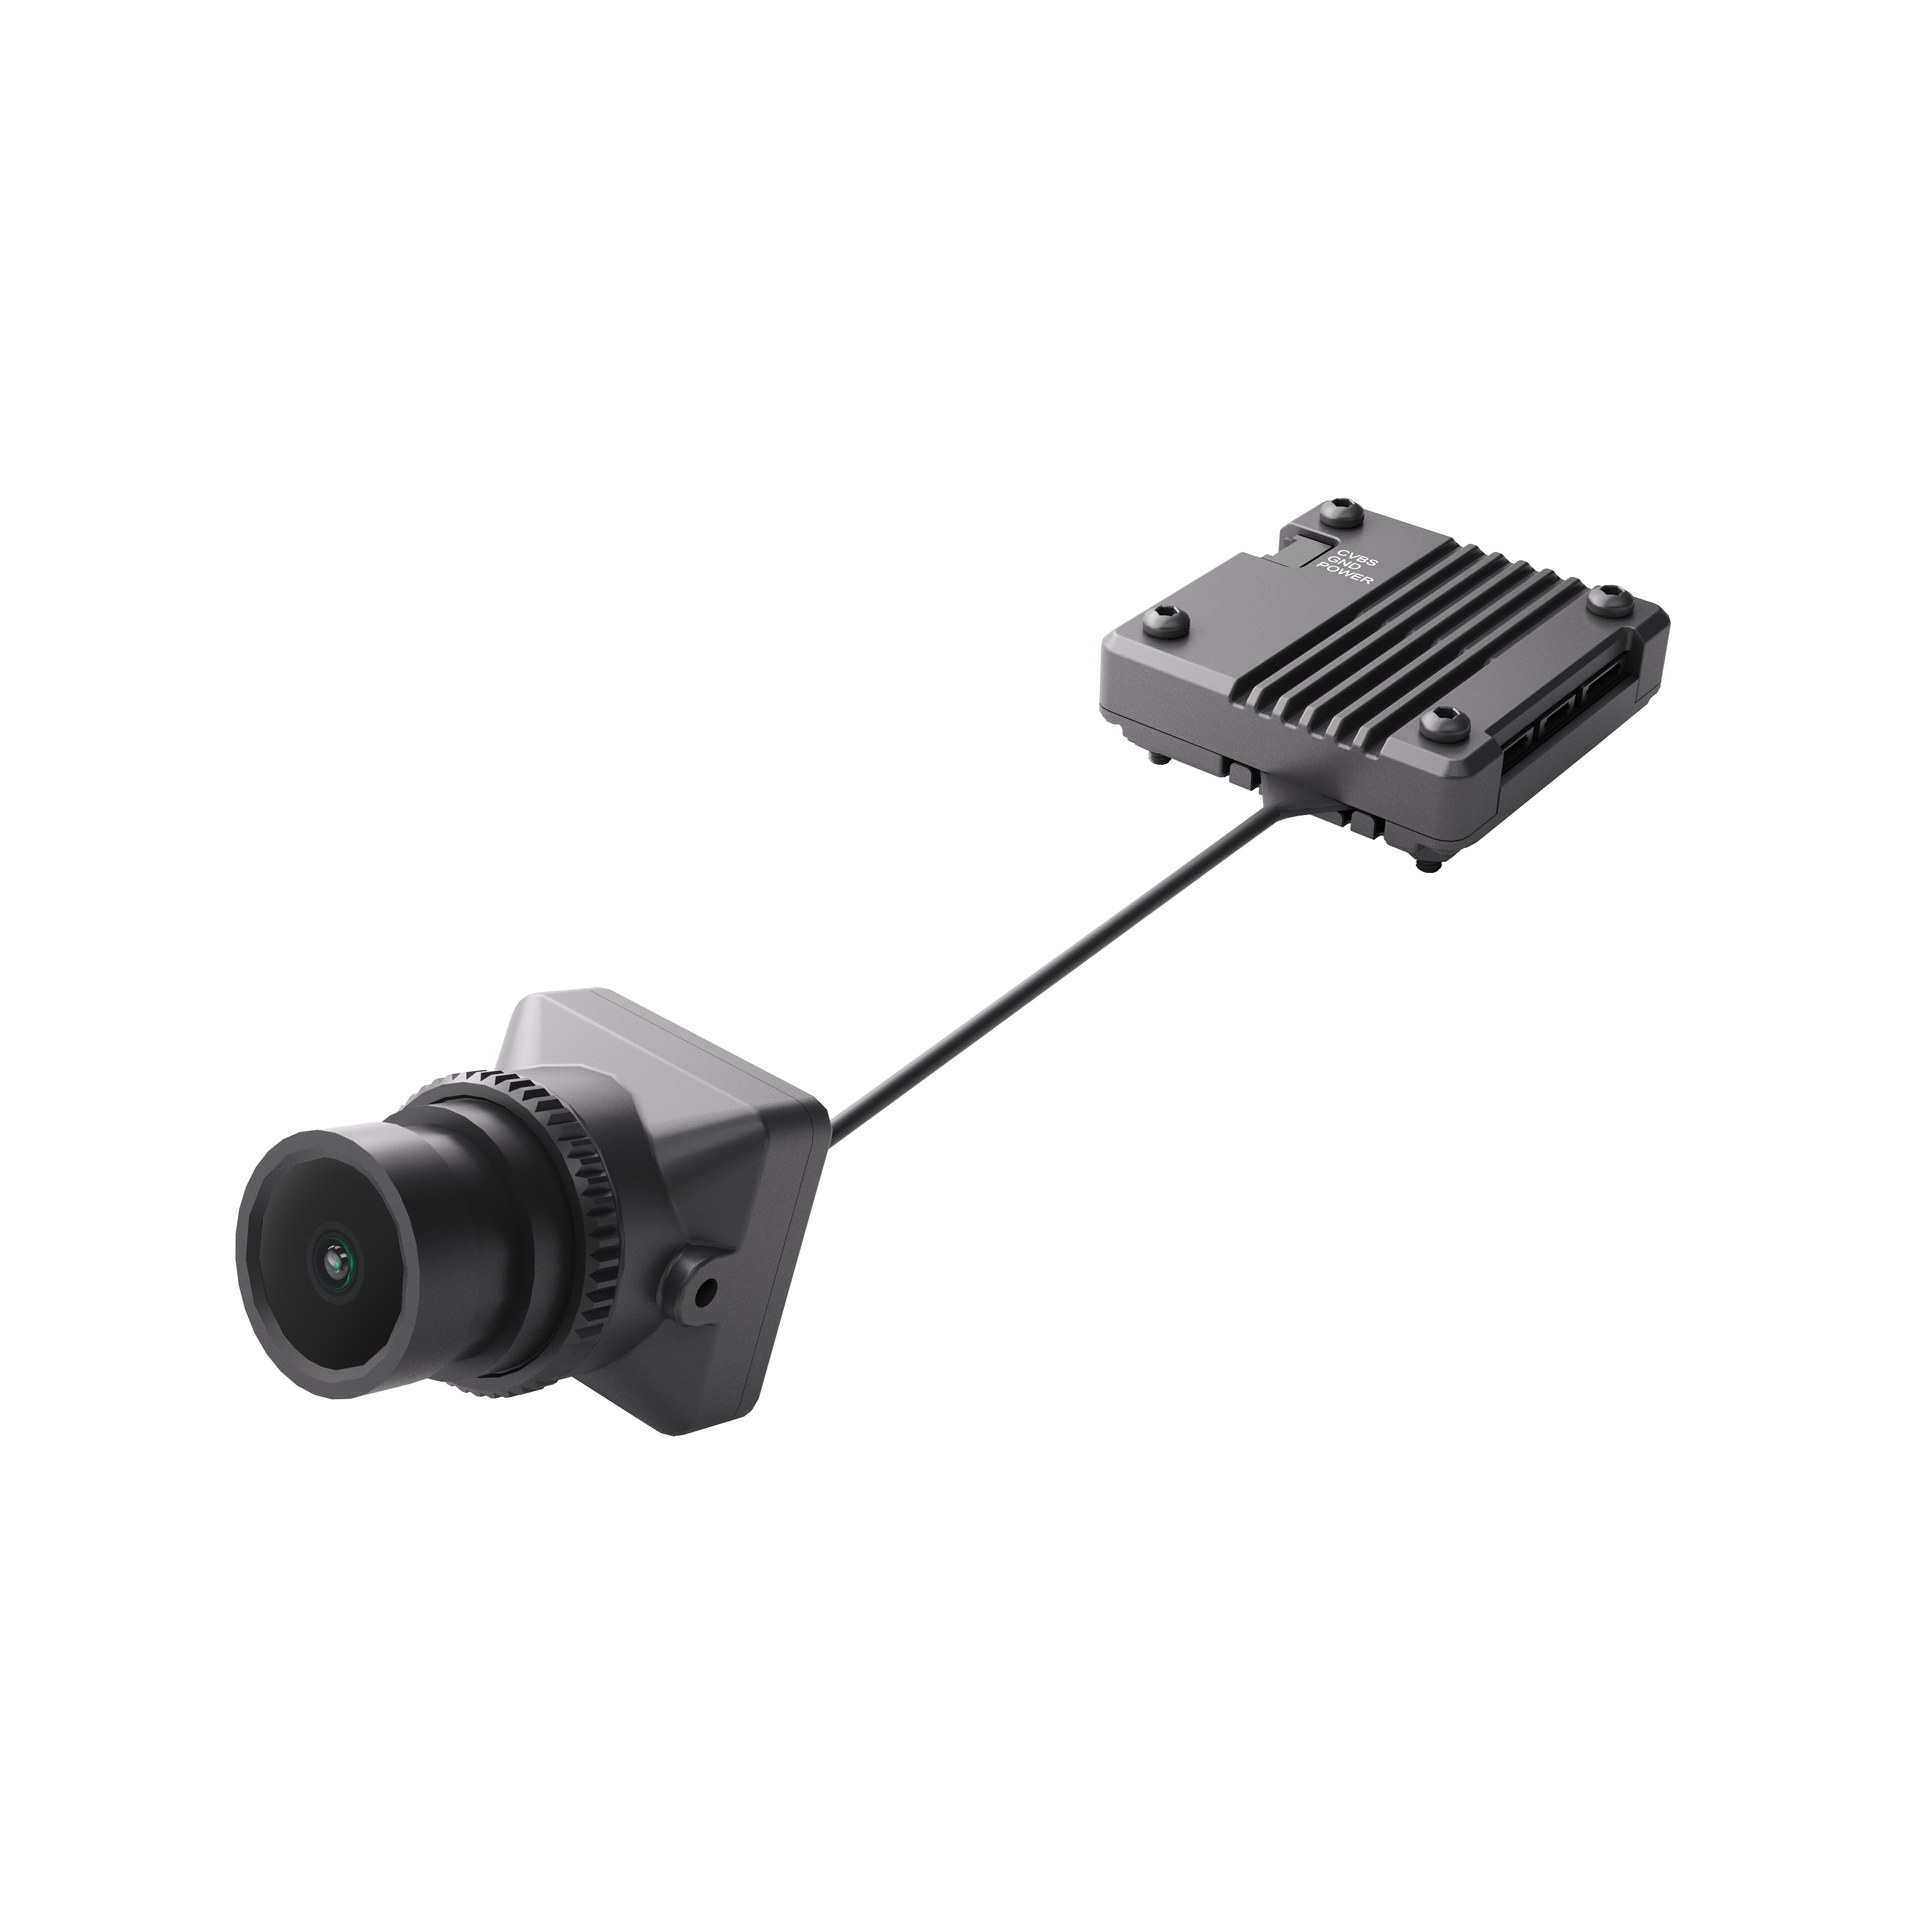
The gimbal arrives solidly packaged, looks well-made, and feels robust. With dimensions of 50x47x53mm, it is small enough to find space almost anywhere. The resulting system weight, including the camera and Air Unit, is just under 75g.
The construction is designed to accommodate the specific 19mm Walksnail cameras and, at the same time, seems optimized to effectively dampen vibrations passively. This allows the camera to rotate freely on three axes (roll, pitch, yaw), making it possible to always aim at the same target regardless of the model's flight movements. In conjunction with head tracking, it can even follow the pilot's line of sight 'synchronously'.

The gimbal and the camera are very well protected in their packaging.
The integration of the gimbal into the Walksnail Avatar system is seamless.
The connection is made via 2 cables to the Walksnail Air Unit. The video signal from the camera mounted in the gimbal is sent directly to the built-in gimbal controller, which stabilizes the image and then passes it on to the Air Unit for transmission to the goggles on the ground. The second connection from the gimbal goes to the power supply, either directly to the flight battery or the voltage pads on the Air Unit, and to the socket for the external USB board of the Air Unit on the other side of the pads. This is clearly shown in the description, and a corresponding plug and cables are included. The Air Unit is then supplied with power via another connection, which sounds more complicated than it is.
The gimbal already stabilizes the camera from its center position. The control of the gimbal axes can be traditionally managed manually via separate proportional channels on the transmitter. This requires 3 additional free channels on the transmitter, which are fed to the gimbal via another cable. Via a fourth control channel, the camera can also be individually switched between different modes (yaw follow, roll+yaw follow, all axis follow).
Head tracking with Goggles L
As a highlight of the system, the gimbal can also be controlled via the integrated head tracking function of the Goggles L. And that brings us to the new goggles from Walksnail, for receiving the image on the ground.
The goggles are an affordable pair of FPV box goggles for digital image transmission and cost less than half of the 'X' variant, its bigger brother. They feature the same digital transmission and allow for video transmission up to full HD (1080p) quality with a still low latency of 36ms and a high refresh rate of 60FPS. The Goggles X achieve a latency of 22ms, but I haven't been able to notice this difference when flying fixed-wing models. The image quality is typical for Walksnail – superb, crystal clear, and bright.
The box goggles use a single 4.5" LCD display with FullHD resolution, giving them a remarkable 75° FOV. The larger the value, the less it feels like looking through binoculars. Without optics, a human has an FOV of about 200°. This makes the view through the goggles feel more natural and wider than with its brother's mere 50° and provides an immersive experience. The weight of 350g is barely noticeable due to the compactness of the goggles. They seal well; the elastic band could be a bit stronger but does its job. I found the active ventilation of the goggles pleasant, which largely prevents sweating even in summer weather and always keeps the optics free from fogging. This works better than with its brother, where I occasionally have 'fog' in my view. However, the ventilation can get quite loud at the current outdoor temperatures.
Compared to previous Avatar goggles (like the Goggles X), the Goggles L promise a lighter form factor and a revised design for improved wearing comfort, and they deliver. This is an important point, as FPV goggles are often worn for extended periods, and weight and pressure points can quickly become uncomfortable. Although the goggles are slightly heavier than my 'X', I feel more comfortable with them, also because the eye position is more central and due to the 'airiness'. The Goggles L actually feel lighter than some other box goggles and sit more comfortably on the face, making longer flight sessions much more pleasant. But they also have the major disadvantage of not being anti-reflective and having no integrated optical corrections. One can live with the former, and internal reflections are still within limits. But if stray light gets in through a crack, it becomes quite unpleasant.
Due to the lack of a variable diopter adjustment, you can't just quickly adapt the optics to the current performance of your eyes. It requires an additional screw-in lens insert, which is firmly screwed inside. You can order this for about $30 or, if you forget, you can make one yourself with a bit of skill.
For this, I glued simple reading glasses (+2.5) with the most rectangular lenses possible onto a small frame and then screwed the unit into the goggles. This worked perfectly for me and 80% of my flying colleagues. Since it is harder to clean inside, you should always store the goggles in the included padded bag to prevent dust or pollen from getting behind the lenses.

Built-in reading glasses with the Goggle menu in the background.
The Walksnail Avatar HD Goggles L have four internal antennas. More precisely, these are two LHCP Omni and two LHCP Patch antennas. These fully integrated antennas, not visible from the outside, ensure stable signal transmission and good range. On the ground with a clear line of sight to a hill over 800m away, I got a perfect picture at a 25MB/s data transfer speed. The transmission power of the Air Unit can be adjusted as needed via the menu in the goggles, from 25mW up to 700mW.
Furthermore, several internal sensors (gyroscope, acceleration sensors) are built into the goggle's shell, which detect the pilot's head movements. This data is then sent to the Air Unit, which forwards it to the Gimbal 3 to align the camera accordingly. This is the crucial hardware to make head tracking possible. With it, the camera always moves exactly in the direction I move my head; completely naturally. It is thus possible to let the eye rest on a point that is 'important' or to quickly look in another direction for safety. The gaze wanders as if by itself to points of interest, without me having to first turn the nose of the aircraft with a fixed camera towards them.
The user interface and the setting options within the goggles menu are intuitive and allow for the configuration of the FPV feed, the OSD displays, and of course, the calibration and sensitivity adjustment of the head tracking. Additionally, the goggles can also wirelessly share the image with other goggles if needed or save it on a micro-SD card. And all this in an entry-level pair of goggles. The goggles get their power via an included cable with an XT60 connector for LiPos from 3S – 6S.

The camera is still firmly connected to the Air Unit; in the gimbal, you can see the camera connector.
Before the gimbal-camera combo can be mounted on the model, the camera must first be installed. To do this, the back cover of the camera must be opened; the screws will be used later for mounting it in the gimbal. Mounting the camera in the gimbal requires good eyes, a steady hand, and some courage. Walksnail could perhaps offer pre-assembled units here.

The many small components on the camera PCBA, smaller than a flyspeck, and the thin wires on the connectors are intimidating.
The connecting cable is secured in the camera with a black, silicone-like substance. Carefully remove this without damaging the electronics. The connector can then be levered out of the socket from the sides with very fine-tipped tweezers. Please remember which way the connector was oriented. The gimbal's connector is now pressed centrally and straight into this socket. I did not secure the connector again with locking adhesive, and yet it did not come loose, even though it was on the combustion engine machine.

The gimbal's connector mounted on the camera, before screwing it in.
Now, a small test platform was created, which holds all the components for the flight and only needs to be supplied with some power. The unit is not picky here and accepts voltages from 2S - 6S (6V – 25.2V); I tap the voltage from the battery's balance cable.
On this platform, besides the gimbal and the Air Unit, there is also a flight controller, which is not used for stabilizing the model, but only prepares the flight data for the goggles. For this, there is also a GPS sensor, which records the position and speeds of the model. This additional flight data is then fed into the camera's image in the form of an artificial horizon or data such as speed, altitude, or even current consumption and battery voltage.
The camera image thus has the character of a cockpit in an airplane with all relevant flight data. To some extent, our remote controls already give us ways to receive this information on the ground, but then I always have to look away from the model and search for the info on the transmitter display; for 1-2 seconds, the model is then unsupervised. Now I have everything always in front of my eyes, without having to give up control.

The camera components including the GPS and flight controller

-
 CADDXFPV 1303 6000KV 无刷电机$17.99
 -
 CaddxFPV Farsight Analog Camera$129.00
 -
 CADDXFPV GM2$69.99
发表评论
所有评论在发布前都会经过审核。
此站点受 hCaptcha 保护,并且 hCaptcha 隐私政策和服务条款适用。