


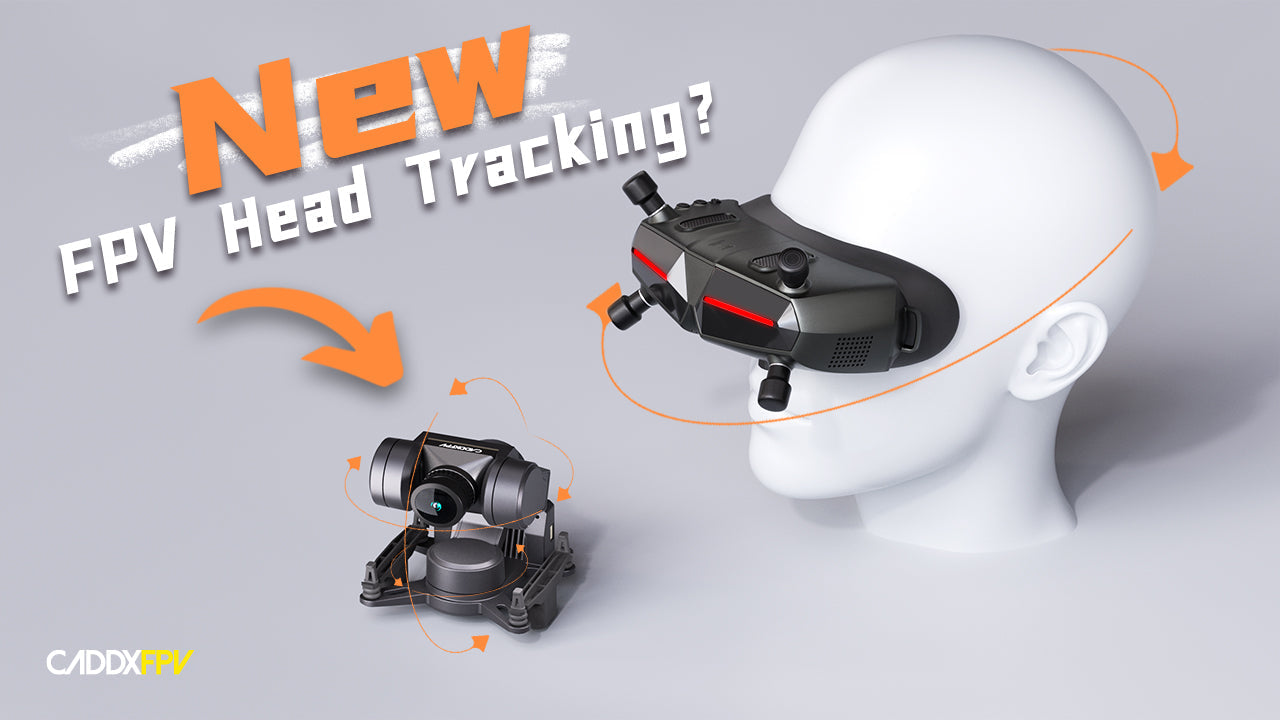
Imagine your drone's camera is no longer fixed forward, but can turn and look wherever you do—just like turning your own head. This isn't science fiction; it's a reality when you combine your Walksnail Goggles X with the Caddx GM3 Gimbal.
This guide will serve as your detailed manual, covering the entire process from firmware upgrades and hardware assembly to the final Goggles configuration. No matter which version of the Goggles X you own, you will find precise instructions here to unlock a breathtakingly immersive FPV experience.
Step 1: Pre-flight Check (Preparation)
Before you begin, please gather all the necessary hardware and download all the required software and firmware from the official website.
1. Hardware Checklist:
●Core Components:
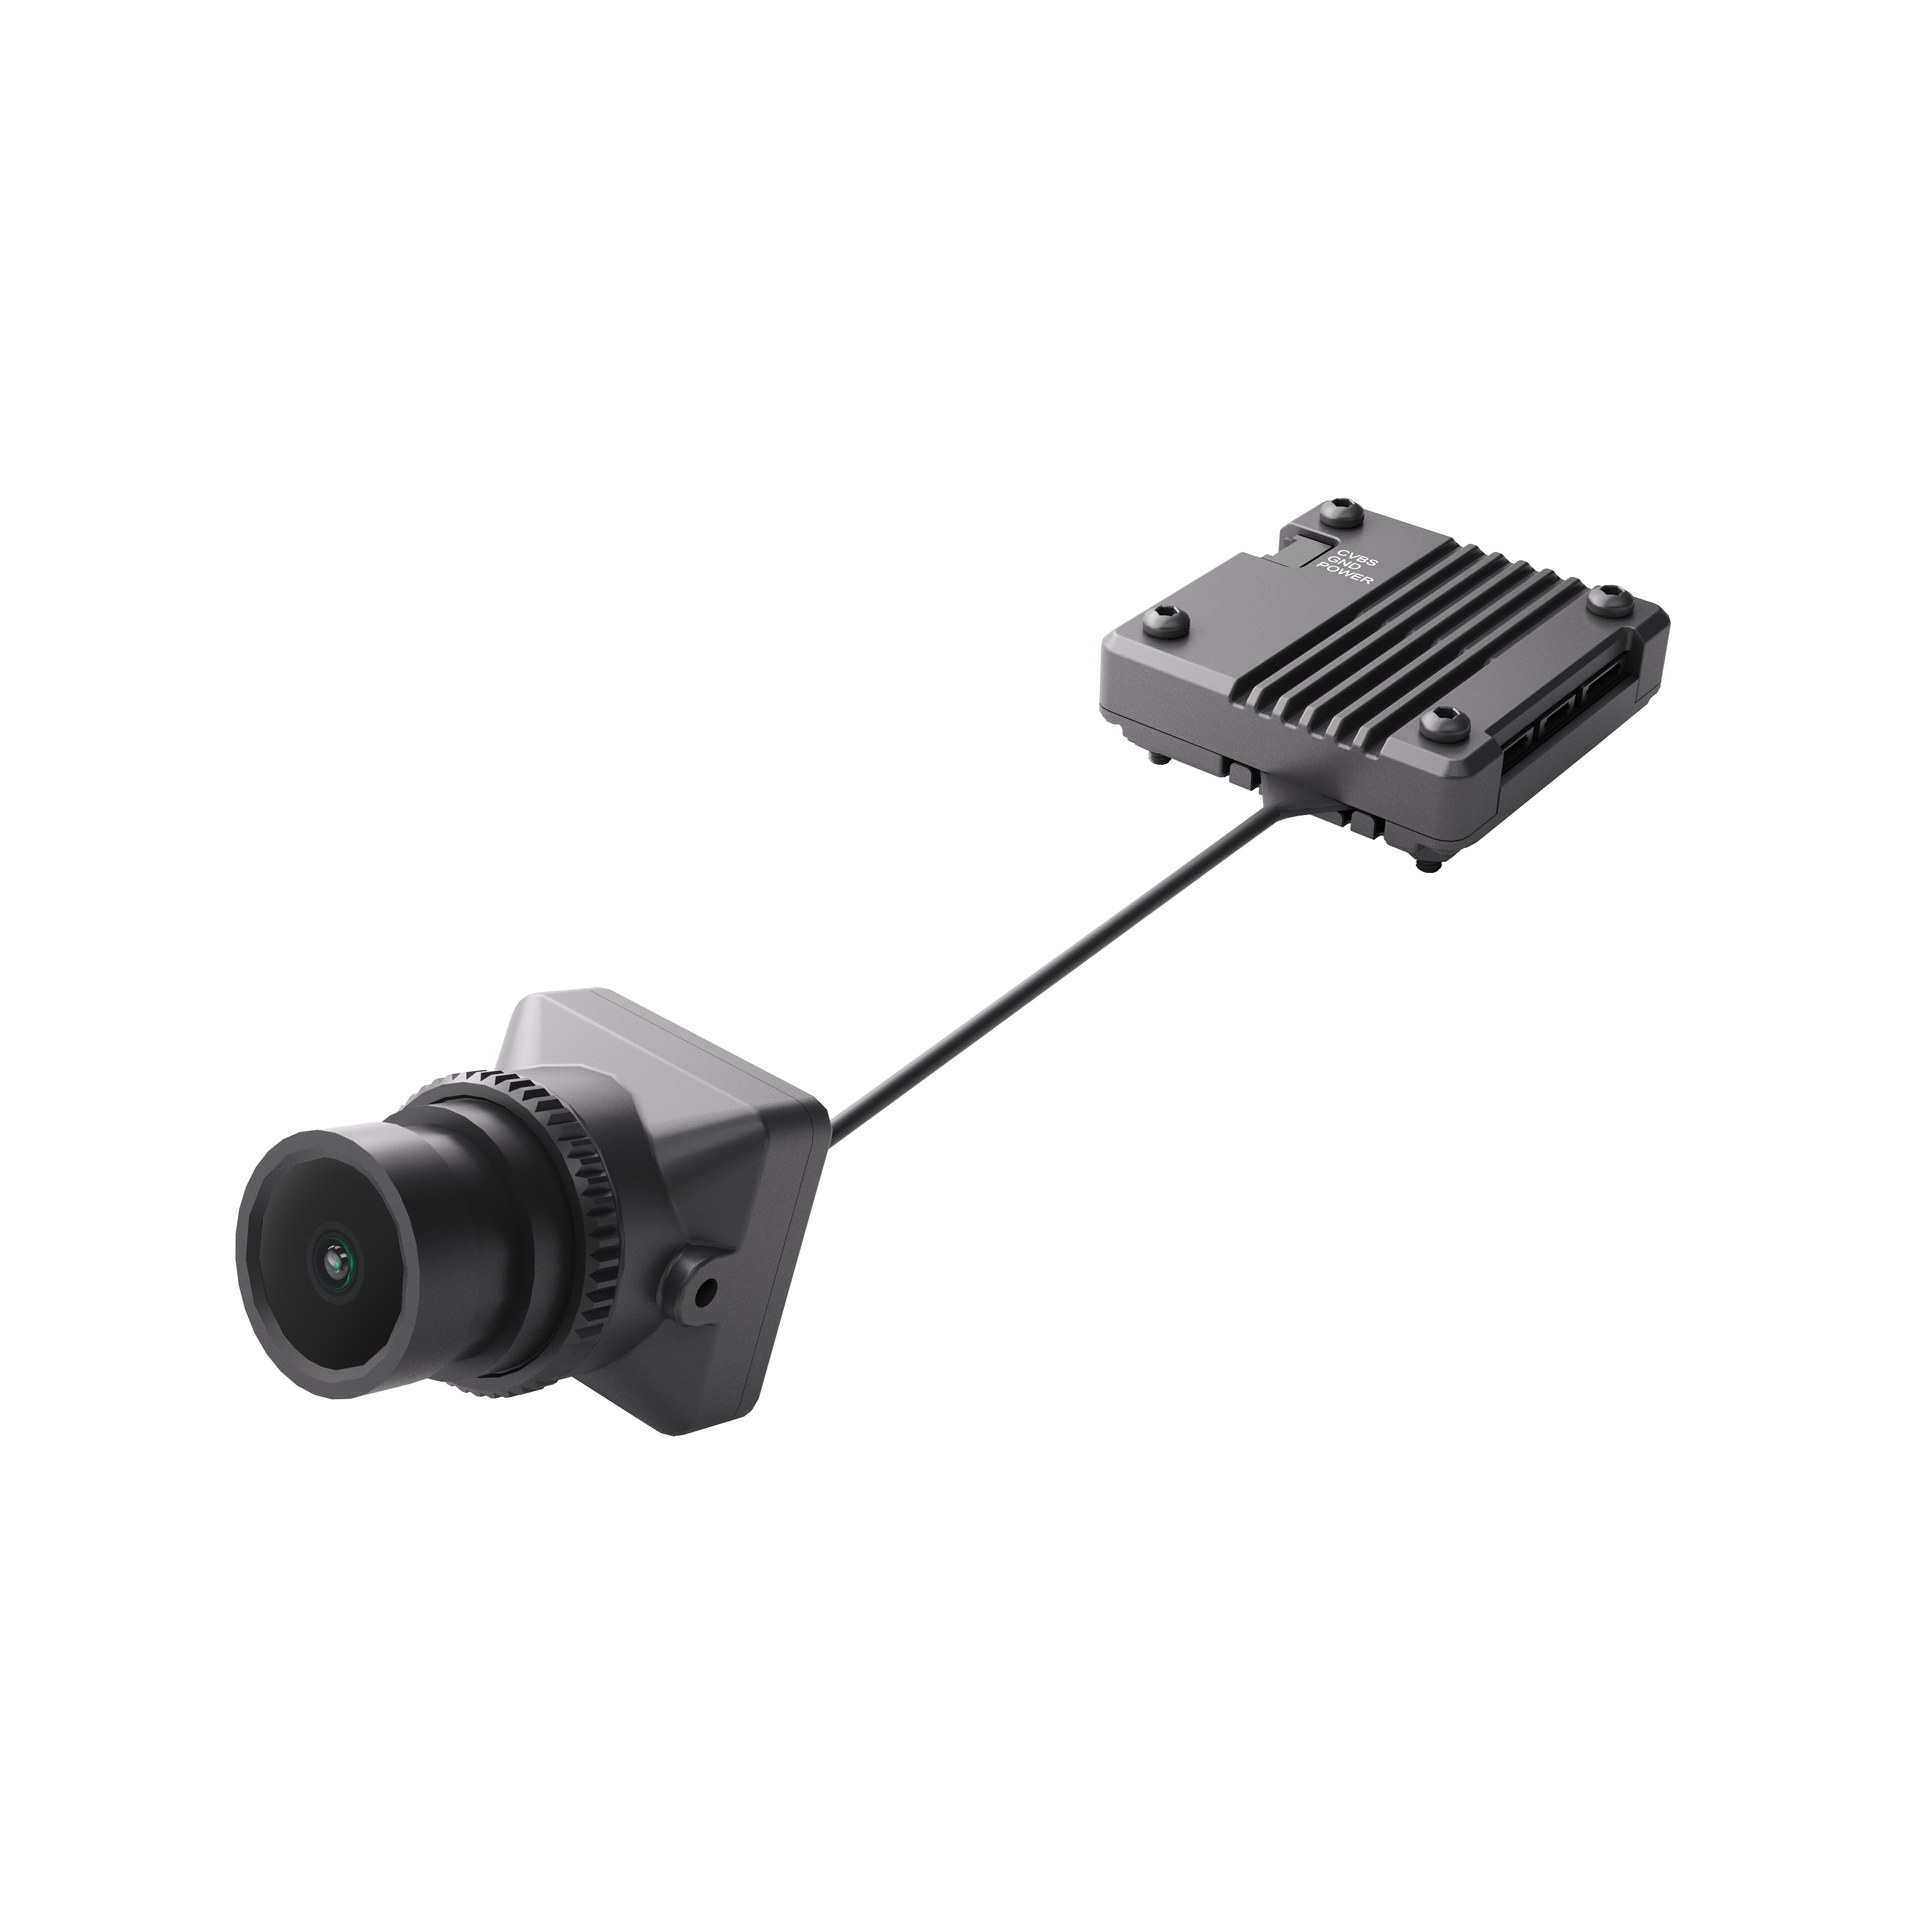
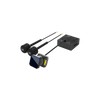
○GM3 Gimbal
○Walksnail Moonlight Kit (VTX + Camera)
○3D Printed Mounting Base + Antenna Mount
●Update Cables:
○Update Cable
○Headphone-style Cable (choose the correct one for your device: 4-pin to 5-pin for Goggles X or 4-pin to 4-pin for the expansion module)

2. Software & Firmware Downloads:
●Required: Before you start, please visit the and download all of the following:
○VTX &Goggles X System Firmware (ensure your version is 39.44.3 or higher)
○GM Gimbal Firmware V3.6 .zip file
Note: Goggles X to firmware version 39.44.4, Head Tracking to version 2.2, and Gimbal to version 3.6.
*Goggles X from new batches manufactured since January 2025 contain new DDR memory. DO NOT DOWNGRADE THE FIRMWARE! Permanent damage (bricking) will occur!
Step 2: Critical Firmware Upgrades
This is the most crucial part of the entire setup process. Please follow these steps in order.
A. Upgrading the GM3 Gimbal Firmware
1.Connect Hardware: Use the Gimbal Update Cable to connect to the update board, then connect the board to the gimbal's update port. Finally, power on the gimbal.
2.Open Software: Find the update program in the "Driver" folder and install it. Then, locate the gimbal firmware and open the GimbalConfig file in the "Software" folder.
3.Configure and Upgrade:
a.Select the correct port in the software (COM3).
b.Click "Start Debug".
c.Click "Open" and load the gimbal firmware file.
d.Click "Update" and wait for the process to complete.
4.IMPORTANT: Upload Parameters:
a.If the channel displays "NULL" after the update, manually change it to "CH01" and Mood is "M0".
b.Click "Upload Parameter" to ensure the new parameters are written to the gimbal.

B. Upgrading the Goggles X Head Tracking V2.2 Firmware
Choose the appropriate method based on your Goggles X model.
●Case 1: Goggles X with Built-in Head Tracking
○Connection: Use the 4-pin to 5-pin cable. Connect the 4-pin end to the update module and the 5-pin end to the Goggles X interface. Then, connect the update module to your computer via a Type-C cable.
○Upgrade: Find the CwHeadTracker File and launch the head tracking ground station application. Click "Start Debug" and select the head tracker firmware and click "Update".
●Case 2: Goggles X with Extension Module (Without Head Tracking)
○Connection: Use the 4-pin to 4-pin cable to connect the expansion module to the update board. Then, use a Type-C to USB cable to connect the update board to your PC.
○Upgrade: Open the update software and power on the expansion module. Select the COM port, click “Start Debug,” then click “Open” and select the firmware file. Finally, click “Start Upgrade” and wait for the progress bar to complete.

Step 3: Physical Assembly
With all firmware updated, let's begin the physical assembly.
●Step 1: Prepare Components: Ensure your 3D printed baseplate and antenna mount are ready.
●Step 2: Disassemble and Install: Detach the original camera and coaxial cable from the Moonlight Kit. Mount the Moonlight camera onto the GM3 gimbal and connect the gimbal's coaxial cable to the Moonlight VTX.
●Step 3: Secure the Gimbal and VTX: Use 4x M2*6 screws to secure the GM3 gimbal to the baseplate. Use 4x M2*18 screws to secure the Moonlight VTX to the baseplate.
●Step 4: Mount the Antenna: Install the antenna onto the antenna mount, then use 2x M2*6 screws to fix it to the baseplate.
●Step 5: Solder the Power Leads: Solder the GM3 gimbal & Moonlight VTX power cables (positive terminals together) to the XT60 positive pad. Solder the negative terminals together and connect them to the XT60 negative pad. If you are not using a flight controller, isolate the RX and TX wires with electrical tape to prevent shorts.
●Step 6: Power On and Test: Connect a power source to the system to boot it up, in preparation for the final Goggles X configuration.
Step 4: Goggles X Configuration & Use
●For Goggles X with an Extension Module (Without Head Tracking):
○Install the Module: Ensure the white connector faces forward. The shorter power cable connects to the goggles, and the longer one connects to the module. The 5-pin end plugs into the goggles, and the 4-pin end plugs into the module.

●For Goggles X with Built-in Head Tracking :
○Software Setup: In the Goggles menu, select “PTZ” to enable head tracking. Once set, the gimbal will follow the motion of your Goggles.

New Firmware Features & Operation:
●Head Tracking Control Channels: The new gimbal firmware adds 3 "Head Tracking Control Channels" that can be configured in the menu.
●One-Key Recenter: Quickly press the Return button three times to recenter the gimbal.
●Shortcut Key to Lock Gimbal:
○In the head tracking menu, ensure the "Shortcut Key Lock Function" is enabled.
○Set up the "Shortcut key lock gimbal function" in the OSD menu.
○Once configured, press the 5D button twice to lock or unlock the gimbal's position.

Conclusion
Congratulations! You have successfully completed the official procedure for installing and configuring your Caddx GM3 Kit. Now you can connect a battery, put on your Goggles X, and enjoy the unparalleled immersive experience of head tracking. This feature dramatically enhances situational awareness and the pure fun of flying.
Q: Head tracking is not working after installation.
A: Please prioritize checking the following: 1) Ensure all firmware is updated to the specified versions: Goggles X to 39.44.4, head tracking firmware to v2.2, and gimbal firmware to v3.6. 2) Confirm that the "PTZ" option is enabled in the Goggles X menu.
Q: How to upgrade the Goggles?
A: Please refer to the Goggles upgrade tutorial here (ensure you upgrade Goggles X to version 39.44.4): https://www.youtube.com/watch?v=EhOi91cIbQ0
Have questions about the installation? Drop a comment below or contact: support@caddxfpv.com,

-
 CADDXFPV 1303 6000KV 无刷电机$17.99
 -
 CaddxFPV Farsight Analog Camera$129.00
 -
 CADDXFPV GM2$69.99
发表评论
所有评论在发布前都会经过审核。
此站点受 hCaptcha 保护,并且 hCaptcha 隐私政策和服务条款适用。